MAKE YOUR OWN BRAIDED LOOPS

THERE are many ways of making loops at the end of a fly line, to which can be attached the backing at the rear end of the running line and the tapered leader at the business end. The old way of stripping the coating off the fly line with acetone, then doubling the core back on itself, stitching the core together and coating with Aquasure is still a good method.
Problems arise with many modern fly lines because the braided monofilament core onto which the fly line profile is coated might only be 20lb breaking strain, which is not particularly wear or abrasion resistant. Indeed many of the braided loops that are supplied with most of today’s fly lines seem to be about 30lb breaking strain braided monofilament and that doesn’t impress me.
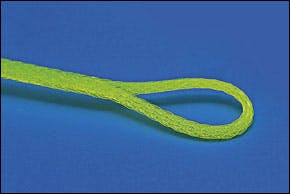
‘Rolling your own’ braided loops is not difficult and allows you to make a small neat loop out of 50lb braided monofilament.
Cortland and Gudebrod make spools of 50lb braided monofilament for shooting heads which make superb braided loops that will not let you down. The difference in bulk between 30lb and 50lb is hardly visible to the eye and makes no difference to casting, but you have the added confidence of knowing that you’ve done everything yourself, with the best materials available. I want that confidence when I’m fishing.
Have you ever watched your fly line go sailing out with a lovely ‘over the top’ loop unfurling and transferring the energy from your perfect cast down to the leader? Then, when you expect the tapered leader to continue putting that energy into presenting the fly perfectly, the leader just collapses into a shambolic heap?
The reason for this heap isn’t always the fault of your casting, but a weak link, a soft point, which robs the impetus and energy of the fly line from the leader. That weak link is often a soft and floppy loop to which a leader has been knotted.
If you really want to use a loop to connect your leader, make the loop as small as you can. Tie a small neat loop at the thick end of your leader using a ‘No Name Knot’ or Perfection Loop, then use a loop-to-loop connection, so that the flow of energy from the fly line continues on, into the leader. That way you give your leader the best possible chance of turning over and presenting your fly(s) as nicely as possible.
At this point I have to hold my hands up and say I use a loop at the back of my fly line to connect the backing, but I dislike a loop at the business end.
Whip finish versus plastic sleeve
You’ll notice that in the method shown in the pictures that the monofilament braid is whipped to the fly line, rather than using the plastic sleeve that accompanies shop-bought loops. Plastic sleeves work well, especially if accompanied by a dab of Superglue, but the neatness of the whipped finish does it for me.
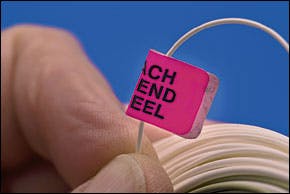
1 Choose the end of the fly line to which you want to attach a loop. I’ve chosen the backend.
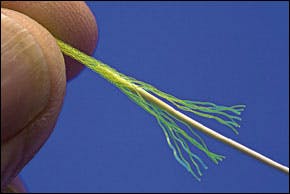
2 Cut the fly line end at a slight angle and begin to feed it through the core of the braided monofilament.
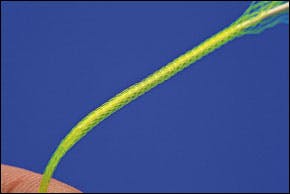
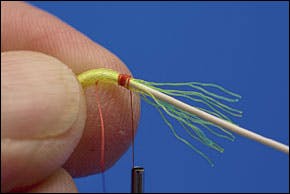
3 Continue feeding the fly line up through the braid core for about an inch(25mm).
4 Take a few turns of tying thread around the fly line to stop any further unravelling of the braid.
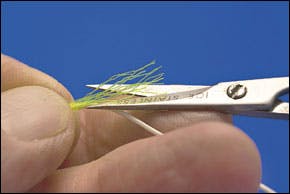
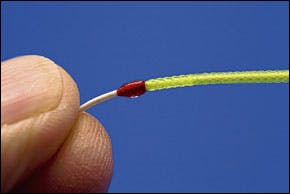
5 Trim strands of braid close to the tying thread. Do this carefully so the finished whipping will be neat.
6 Finish whipping to conceal loose ends of braid. Coat whipping with Superglue and allow to dry.
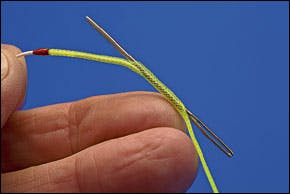
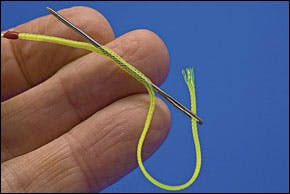
7 Push needle through braid 10mm from end of fly line. Bring needle point out just past end of fly line.
8 Thread end of braid through the eye of the needle… this gets easier with practice!
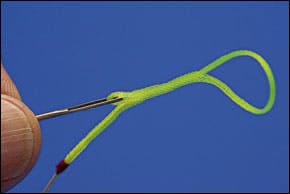
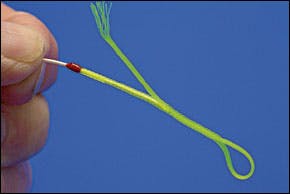
9 Now pull the needle through the core of the braid to form the loop as shown.
10 Pulling loose end of braid adjusts loop size. Avoid over-large loops, especially at front of fly line.
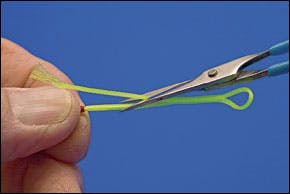
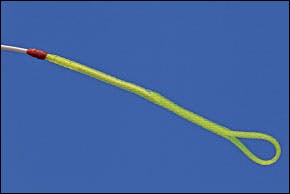
11 Now with a sharp pair of scissors carefully trim away the excess braid close to the fly line loop.
12 Gently pull loop till the cut end disappears within the braid core and lies flush with end of fly line
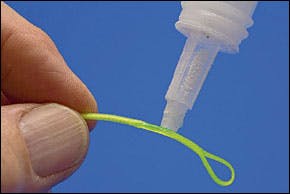
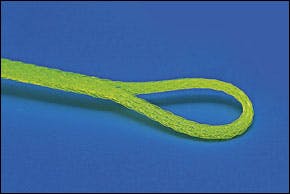
13 Add Superglue to where braid and fly line meet. Stretch loop so glue enters core. Remove excess glue.
14 A fly line loop ready for loop-to-loop connection with reel backing. Now, do same at front of fly line.
Extra tips for braided loops
