★ Win a VALLON prize bundle worth almost £500! Enter here ★


How to photograph your catch
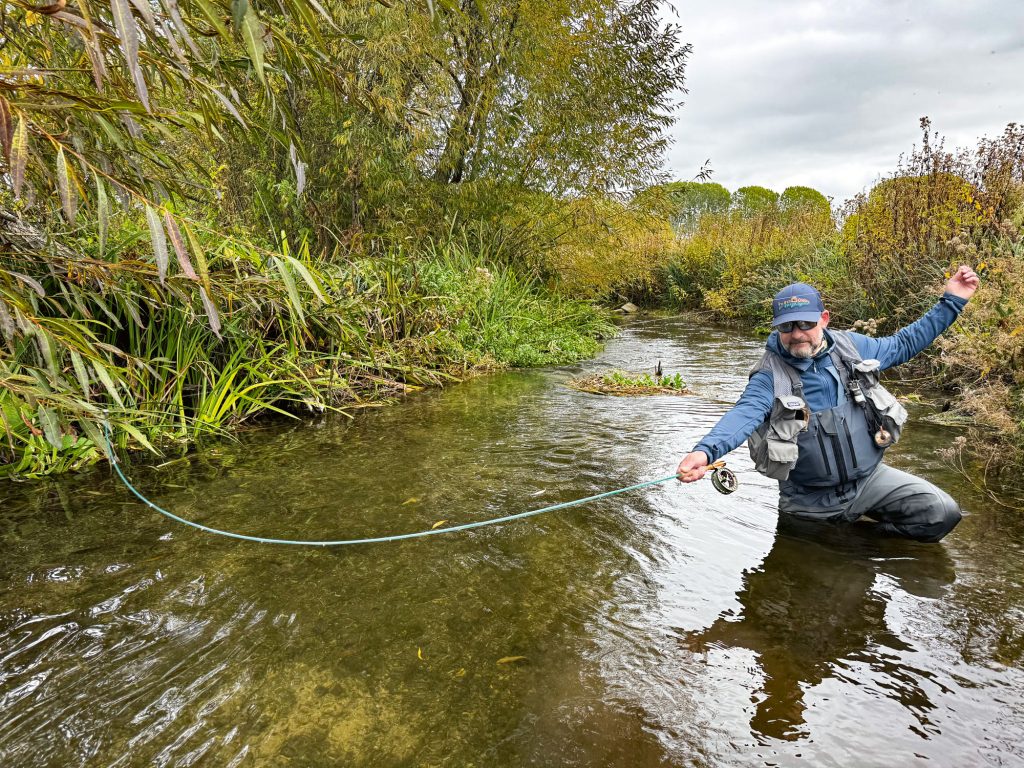
Don Stazicker explains how best to photograph fish. This guide provides essential techniques for capturing stunning photos while ensuring the fish's well-being and minimal stress.
During the 50 years that I’ve been reading Trout & Salmon the images of fish in the magazine have changed significantly. Where pictures of dead fish and limit bags were once the norm, now there are almost no images of dead fish (stocked rainbow trout are the exception). This reflects the increasing practice of catch-and-release. Few of us kill wild trout and we release more than 93% of salmon. However, there is something missing when we release our fish. We no longer possess a physical trophy. Instead, most of us photograph our catch with mobile phones and SLR cameras. The stuffed trout in a glass case on the wall has been replaced by the digital image.
Why do we need to photograph our catch?
Some say that photographing your catch is just an exercise in vanity and as such is not justifiable. I think it is no more an exercise in vanity than wanting to catch the fish in the first place. It fulfils a fundamental aspect of why we fish: to capture our prey. As many of us now choose to release our catch, the taking of a photograph to record the event is a natural alternative to harvesting the fish. Angling images can also have value beyond the mere recording of angling success. They are part of the cultural, historic and scientific record of our society.
Handle your catch with care
Accepting that many of us do want a photographic record of our catch, how can we produce a stylish, quality image while respecting our quarry and subjecting it to minimal stress?Scientific research shows that, properly performed, catch-and-release results in mortality that in the best cases is less than one per cent. Some catch-and-release studies have shown higher mortality due to variations in fishing technique and the ability of individual anglers to handle fish properly.
Keeping a fish wet reduces damage to its skin and mucus. Combined with minimal exposure to air this positively influences survival rate. Not playing the fish to exhaustion and making sure it is fully revived before release are also important positive factors.
Visit the Keepemwet and Marine Scotland and Wild Trout Trust websites for useful tips on good catch-and-release practice and links to the science underpinning them.
What sort of net should you use?
We want to photograph our catch with the fish experiencing as little exposure to air as possible, while supporting its weight and protecting its tissues.
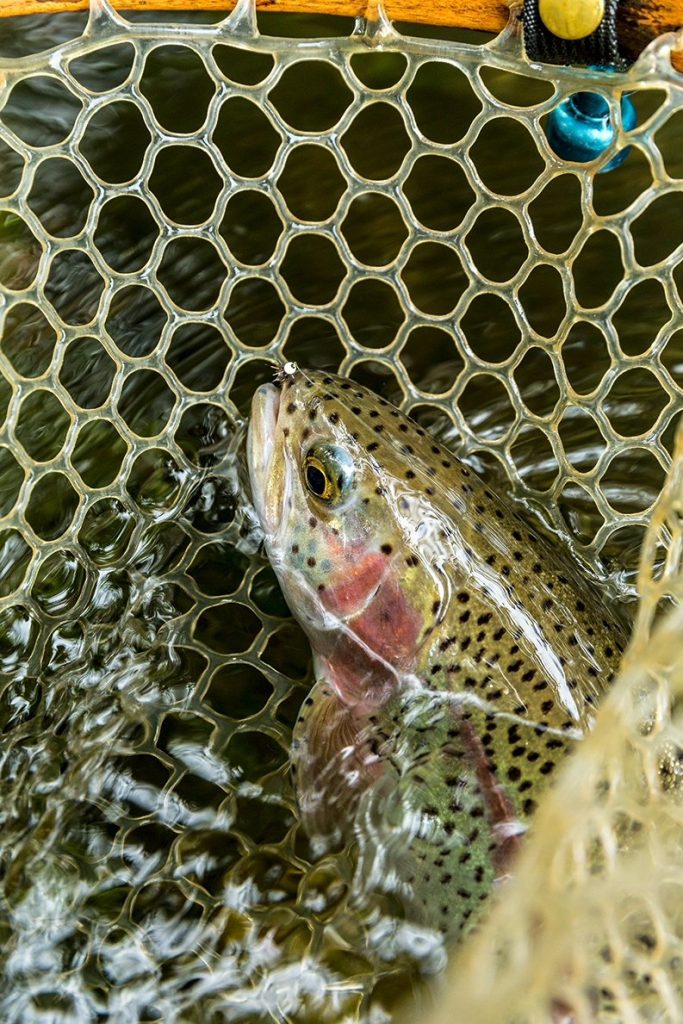
For fish of any size I always use a net with clear rubber mesh that won’t damage scales, looks great in photos and doesn’t obscure much of the trout. The net lets me land the fish faster than by hand and it can recover in the net before a picture is taken. The camera is readied, the picture composed. If fishing with someone, the cameraman counts down, the angler lifts the fish, the shot’s taken and the fish is back in the water in a second or two.
Who’s taking the picture?
If you are going to let a companion use your phone, it’s probably just a case of pressing the button. If you carry a compact or SLR camera, set it to full auto and show them how to use it before you start fishing: how to switch it on, how to take a shot, how to zoom. Make sure they know if your camera is not waterproof.
To take your own shots – quickly – use a waterproof camera on a retractor attached to your fishing vest where it is instantly accessible. Some anglers permanently attach a flexible mini-tripod to their camera and use a self-timer, but this takes longer.
How to take low-stress photographs of your catch
1. Use a net and land the fish as quickly as possible.
2. Always handle fish with wet hands. Make sure it has regained its equilibrium and don’t release it until it wants to swim away.
3. Keep the fish in the net and in the water, allowing it to recover while you and the photographer (if there is one) position yourselves for the shot and prepare the camera.
4. Let the photographer direct the action and tell you when to pose with the fish and when to release it. Often my fishing partners have unhooked a fish and released it with the words, “Did you get that?” only to be less than impressed that the camera hadn’t even started up, far less taken the picture.
5. If the fish isn’t in the water or dripping water, it’s too dry. Shots with drops of water look great; they add motion and authenticity to the picture.
6. Set the camera to continuous shooting. The single-shot setting will always catch you when you blink.
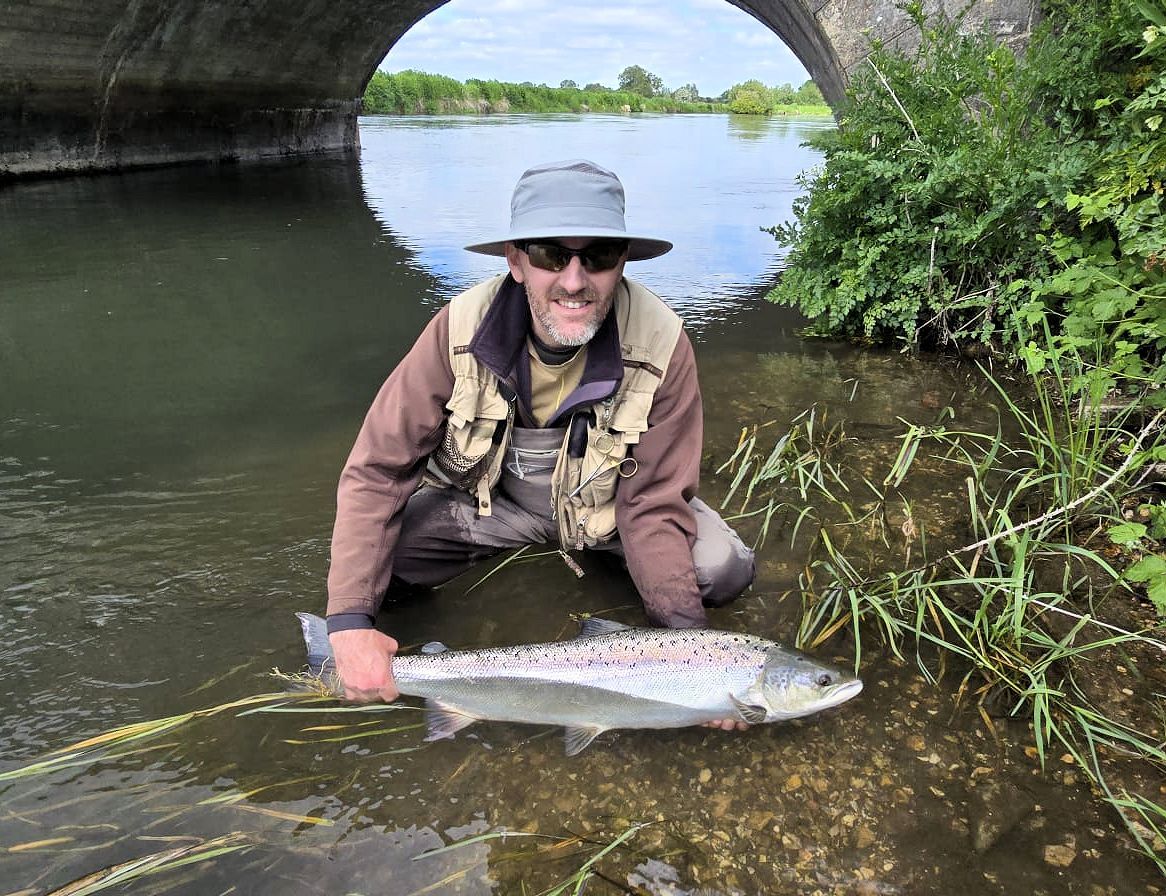
7. Some say the best way to take pictures of fish is with them underwater. That’s fine on a crystal-clear river with good light levels, not so good in coloured water or when light levels are low. Great shots can be taken with the fish partially in the water, able to breath and well supported, but clearly visible.
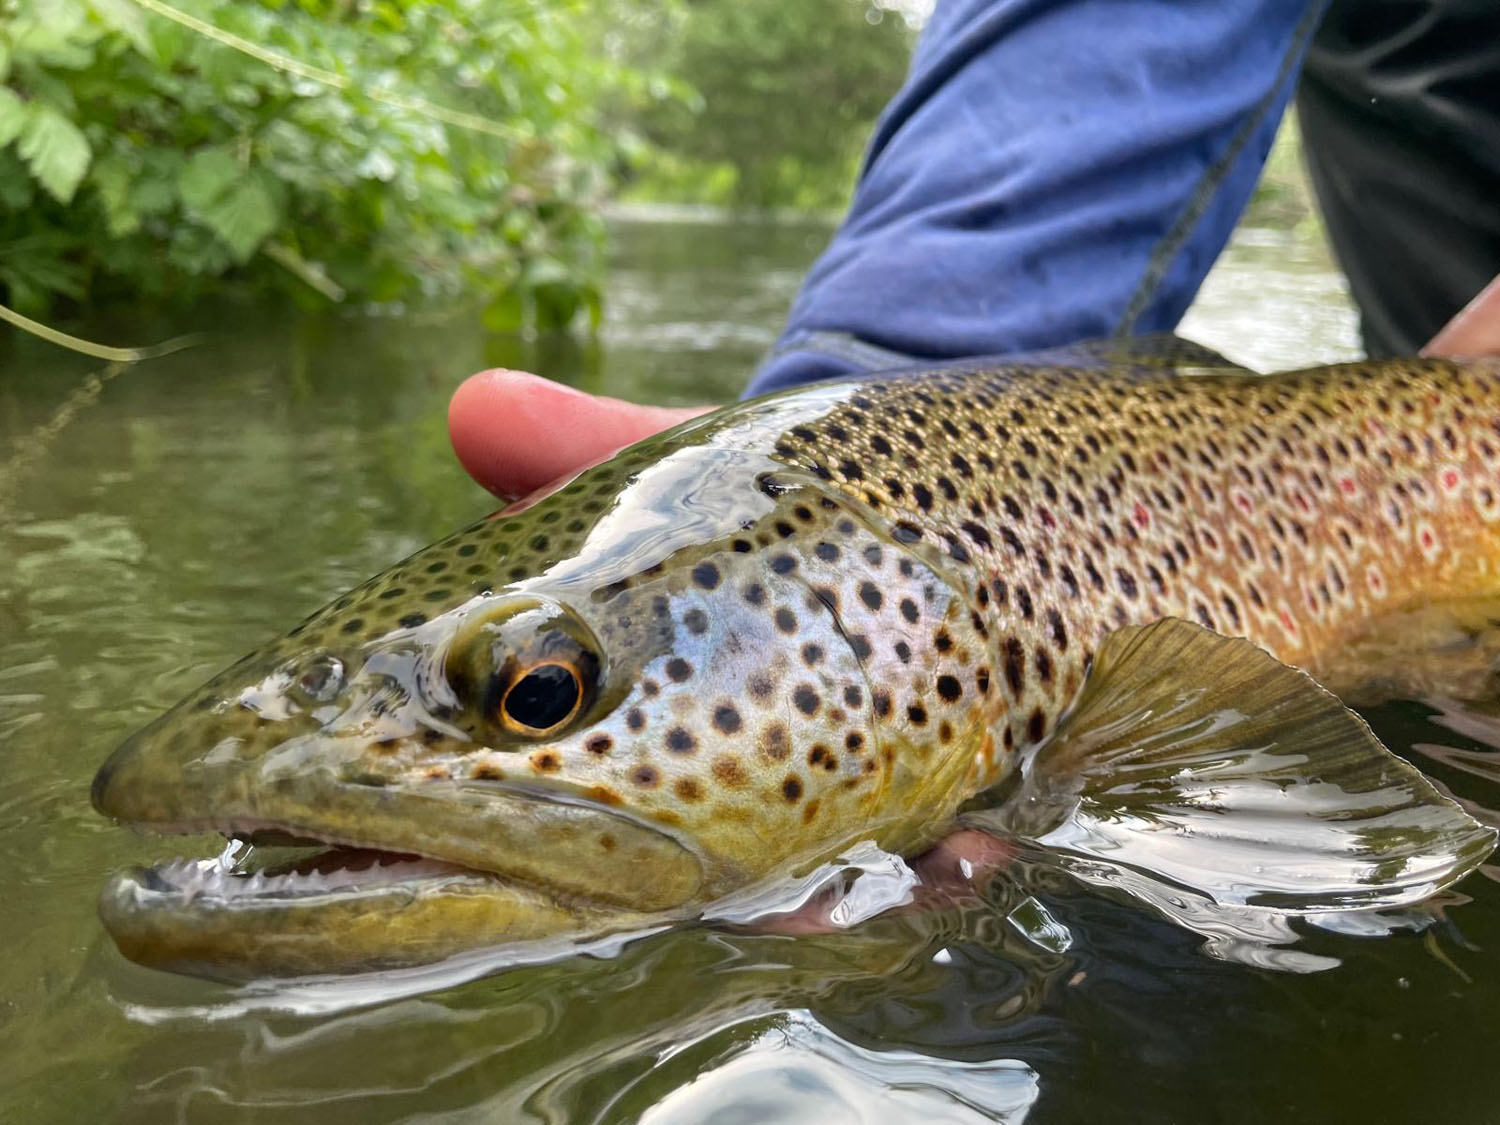
8. Hand position is critical to a good shot and the fish’s welfare. One hand cradling just behind the pectoral fins and one hand with finger and thumb gently circling the tail gives a secure grip, supporting the fish without squeezing it or impeding its breathing. Holding the fish vertically stresses its vertebrae and doesn’t make a good picture.
9. Keep the fish over the net. Don’t lift it high out of the water. Don’t put the fish on grass, gravel or the bottom of a boat as these surfaces can damage the mucus layer and the skin.
10. If fishing on your own, photograph your catch in the net and in the water. Using your camera with one hand while releasing the fish with the other makes a great shot.
11 tips for better picture composition
1. Get close. Fill the frame with the subject. Don’t take all portrait or all landscape shots – match the orientation to the scene.
2. Don’t shoot everything from a standing position, get down close to the water’s surface or take shots from high above the river.
3. Avoid centring the subject every time. Use the Rule of Thirds: place your main subject on a line one third of the way across or one third from the top or bottom of the frame.
4. Don’t cut off heads and limbs. Give the subject room to see or space to move towards.
5. Take more than fish shots. Shoot some contextual material to show where you are fishing and how beautiful it is.
6. Shoot macro. There is gorgeous close-up detail in natural and artificial flies and in the fins, scales and eyes of the fish.
7. Baseball caps and mirror sunglasses can de-personalise the angler and are often better removed. Make sure the angler’s eyes are sharp. You can get away with almost everything else being blurred, but not the eyes. Lock the camera focus on the eyes, and recompose the picture.
8. Not everything has to be sharp. Getting close to the subject blurs the background, focusing the viewer’s attention on the subject.
9. Water can look striking if completely frozen by a fast shutter speed or blurred by a slow shutter speed. The blur gives the impression of water movement while all the other components of the picture are razor sharp. Use a tripod or it will all look blurred.
10. The fish doesn’t have to be square on to the camera. Angle its head towards the camera to emphasise the fish’s length; angle the head away for release shots to give a feeling of returning to the water. Pictures taken at an angle often won’t have the whole fish in focus, decide which part of the fish you want in focus, usually the head (eyes) or the tail.
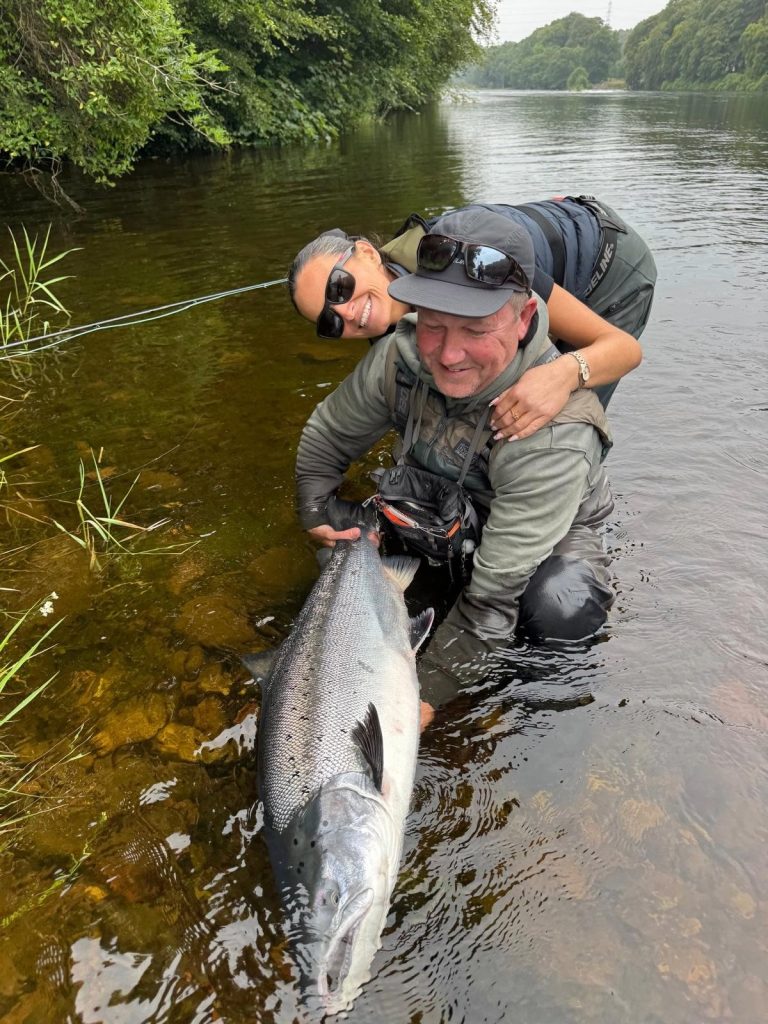
11. While it’s nice to be recorded as the captor, it gets a bit monotonous if every shot has you grinning in it.
Managing big fish, especially salmon
If you have just landed a large fish that’s taken a long time to get to the net, especially when fishing on your own, you need to decide if photographing your catch will stress it too much.
I released the largest trout that I’ve ever caught without taking a picture because it had fought long and hard in fast water and the only way I could have taken a shot would have been to place the fish on a dry grass bank while I got my camera ready. I chose to forego the picture and spend my time ensuring that the fish was fully revived before I released it into slower water. Of course, I wish I had a photo of that fish, but that’s a minor regret compared to how I would have felt if I had put its life at risk just to get a picture.
Related Articles
Tips and advice
Mastering the bow and arrow cast
Learn how to reach difficult lies and catch more fish by adding this versatile close-quarters cast to your armoury.
By Pete Tyjas

Tips and advice
Improve your fly presentation and casting skills
Guide Gilly Bate lists common faults she witnesses and the fixes she applies for better presentation.